Anúncios
This short guide aims to help you safely clean dog ears at home and reduce the chance of irritation or infection. The goal is simple: protect the canal, use safe technique, and spot problems early.
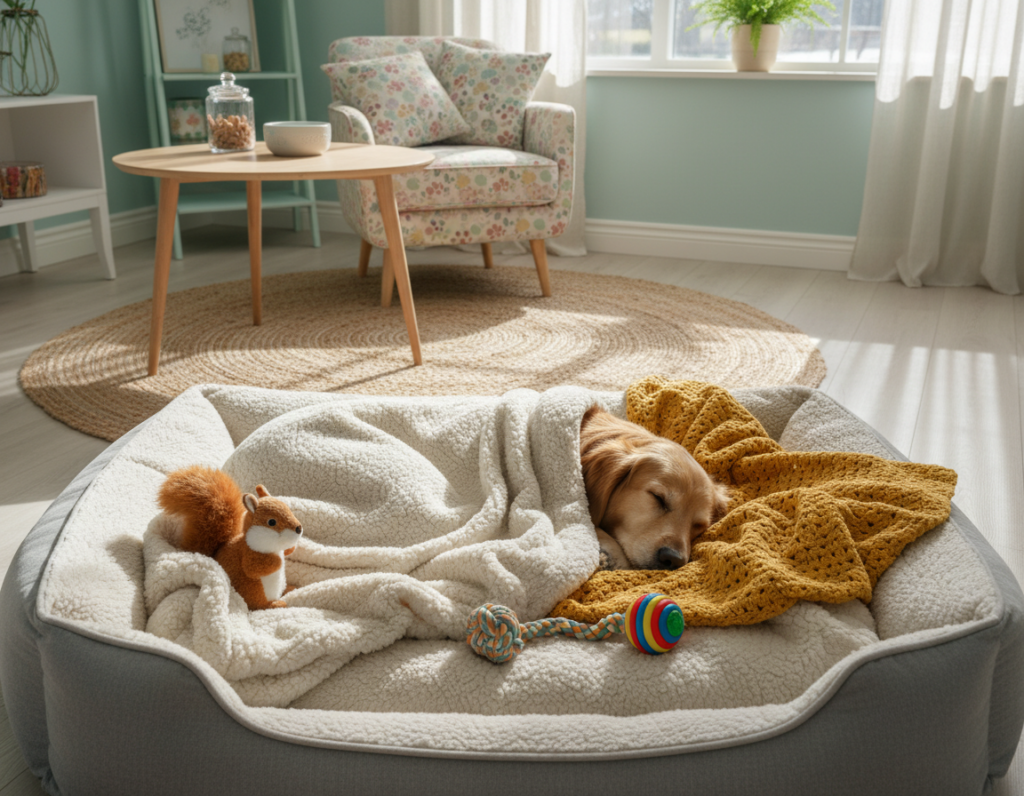
Most pets do not need constant attention, but routine checks make the task quicker and kinder. Trapped debris and moisture can lead to trouble, especially in floppy breeds like Cocker Spaniels and Basset Hounds.
We follow veterinarian-aligned best practices: use a pet-specific cleanser, wipe gently, and never insert tools deep into the canal. If you see pain, blood, or a strong odor, stop and call your veterinarian right away.
What’s next: first learn what normal ears look and smell like, then follow a step-by-step process, and finally review red flags that require professional care. With calm handling and a steady routine, cleaning becomes a quick part of regular grooming.
Know Your Dog’s Ear Health Basics Before You Start
Start by spotting normal signs in the ear so you can tell when something is off.
Anúncios
Dog ear anatomy and the L-shaped ear canal
The ear canal forms an L-shaped tunnel with a 90-degree curve. This bend keeps the eardrum past the bend and explains why debris rarely falls out on its own.
What healthy dog ears look and smell like
A healthy ear shows light-pink skin, minimal wax, no swelling, and a neutral scent. Learn your pet’s normal look and smell so you can spot changes early.
How often to check ears and when cleaning is actually needed
Check routinely, especially after outdoor play. Many pets only need occasional cleanings based on what you find.
Anúncios
Moisture risk factors like swimming and bath time
Water left in the canal can trap debris and raise irritation risk. After swims or baths, make sure the surrounding fur is dry and inspect the ear. Long-eared breeds may need more frequent checks because airflow and ear shape can trap wax over time.
“Choosing the right cleanser and a gentle technique matters more than cleaning often.”
Learn proper products and steps next; that will help reduce trauma to the canal and eardrum.
How to clean dog ears safely at home
Gather reliable supplies and a calm space before you begin any ear care routine.

Essential supplies and why they matter
- Pet-specific ear cleaner — a neutral-pH cleanser made for routine use.
- Cotton balls or gauze — for gentle wiping without pushing debris into the canal.
- Treats — reward cooperation and reduce stress.
- Towel — catch spray when the animal shakes and dry surrounding fur.
What to avoid and why
Do not use Q-Tips, alcohol-based solutions, or hydrogen peroxide. These can push material deeper, sting, or damage healthy tissue.
Simple step-by-step method
- Lift the flap and place the nozzle at the opening; squeeze one tablespoon of solution so fluid is visible.
- Close the flap and massage the base for 20–40 seconds until you hear swishing.
- Allow a natural shake of the head; then wipe folds and outer canal with wrapped cotton—no deeper than one knuckle.
- Use the towel to wipe spray and dry fur to reduce lingering moisture.
| Item | Purpose | How to use | Notes |
|---|---|---|---|
| Ear cleaner | Loosen wax and debris | Squeeze into opening; avoid deep insertion | Vet-approved, neutral pH |
| Cotton balls/gauze | Gentle wiping | Wrap around finger; clean visible folds | Do not probe canal deeply |
| Towel | Control spray and dry fur | Hold over shoulder or use after shake | Prevents mess and moisture |
| Treats | Encourage calm cooperation | Reward throughout the process | Short, soft treats work best |
Grooming note: For non-shedding breeds, trim hair around the opening to improve airflow. Do not pluck; plucking can irritate skin and raise inflammation risk.
Prevent ear infections and know when to call the vet
A few steady habits cut infection risk and help you know when to call a veterinarian.
Prevention works in the present: check the outer canal regularly, dry after swims and baths, and use a vet-recommended cleanser only when you see buildup. These small steps lower the chance of ear infections and keep your pet comfortable.
Signs of infection or irritation
- Foul odor or strong smell from the ear
- Marked redness, swelling, or visible discharge
- Blood, excessive wax, or repeated head shaking
- Apparent pain when the area is touched
When not to clean and why you need a vet
If you notice any red flags, stop home cleaning immediately and contact your vet. Wiping or inserting solutions during an infection can worsen inflammation, push debris deeper, and delay correct treatment.
| Action | Why it matters | When to call a veterinarian |
|---|---|---|
| Routine checks | Catch changes early | If unusual odor or persistent wax appears |
| Dry after water exposure | Reduces moisture that encourages infections | When swelling or repeated shaking occurs |
| Use vet-approved products | Safe pH and gentle ingredients | When pain, blood, or discharge is present |
Note: Recurrent infections often point to allergies or chronic issues. Ask your veterinarian at checkups whether routine cleanings are right based on breed, activity, and history.
Conclusion
Wrap up your routine with a quick checklist to keep maintenance simple and safe. Start with a brief inspection, use a gentle pet-specific cleanser, massage the base to loosen debris, let the animal shake, and wipe only what you can comfortably reach.
Do no harm: never use Q-Tips or harsh chemicals, and stop if you see redness, blood, strong odor, or clear pain. Seek a vet when signs point to infection.
Adopt a “check often, clean as needed” mindset, especially after swims or baths. Pair handling with treats and calm praise so routine care stays simple, consistent, and focused on long-term comfort.